Who likes to work long and hard to gather and arrange news for morning announcements only to bungle up the presentation? Don’t answer that – as you probably guessed, that question was rhetorical. By making sure your team’s production skills are ‘on point’, you can ensure that the material you worked so hard to produce does not go to waste. The first step towards that end is to make sure you avoid all of the more egregious amateur mistakes. Let us take a look at the most common ones and how to avoid them:
Incorrect camera set up
- Faulty framing – Bear in mind that the audience can only see what is on screen. You need to make sure that the subject stays within the frame. While capturing videos, you need to make sure that it is composed correctly. The eyes of the subject need to be at least a third of the way from the top of the screen. Also, keep an eye out for compositional errors like a pole sticking out of the top of someone’s head or trash in the background.
- Wrong lenses – Wide-angle lenses end up distorting the space and make everything look further away, while telephoto lenses compress the distance and make everything appear closer. So, if you are pressed for space while shooting a segment, you can use wide-angle lenses to give some breathing room to your shot. However, if the distance between the foreground and background is considerable and you want the object in the background to look bigger than it actually is, then telephoto lenses are your best bet. And last, but not least, if you want the image to look exactly the way you see it, then 50mm lenses are the ones you want as they approximate human vision the best.
- Blurry images – Out of focus or blurry images are an absolute no-no. If you are going to select the autofocus feature on the camera, make sure that you have the camera pointed at the subject. To avoid blurry images, you need to ask yourself “what is the size of the screen on which the video is going to be displayed?” If it is just a computer screen, then 720p should be just fine. However, if you are going to project the video onto a large screen in the common hall, then you need to make sure that the resolution is at least 1080p if you do not want the video output to end up looking ‘soggy’.
Incorrect use of the teleprompter
How to set up a recording studio? - We've got a guide for you!
The Teleprompter
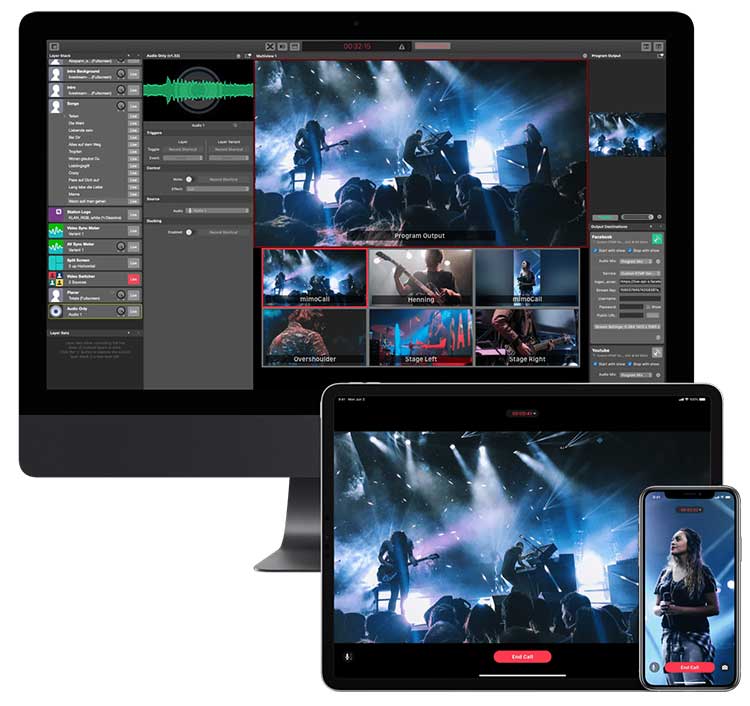
Now, there’s no denying that the teleprompter is heaven-sent for in-studio broadcasts. By using one, you can ensure that the key messages are delivered in a professional manner, giving your production that crisp, polished broadcast look. However, it can also turn out to be a double-edged sword if not used right. The very presence of a teleprompter creates psychological pressure on the reader to follow what is on screen without really internalizing what they are reading. Always remember that the teleprompter is supposed to follow the speaker and not the other way around. So make sure that you do it with a pacing that is comfortable and appropriate for you. You just need to stay confident and remember that the words are all going to be there. If you pause or improvise, the next word is going to be there on the teleprompter, waiting for you to pick it back up. A teleprompter also lets you maintain eye contact with your audience by allowing you to look directly at the lens. So make full use of it if you want to engage your audience. If you frequently move your eye away from the camera, it can cause you to look a bit shifty.
Read everything about the proper usage of a teleprompter!
The wrong microphone set up
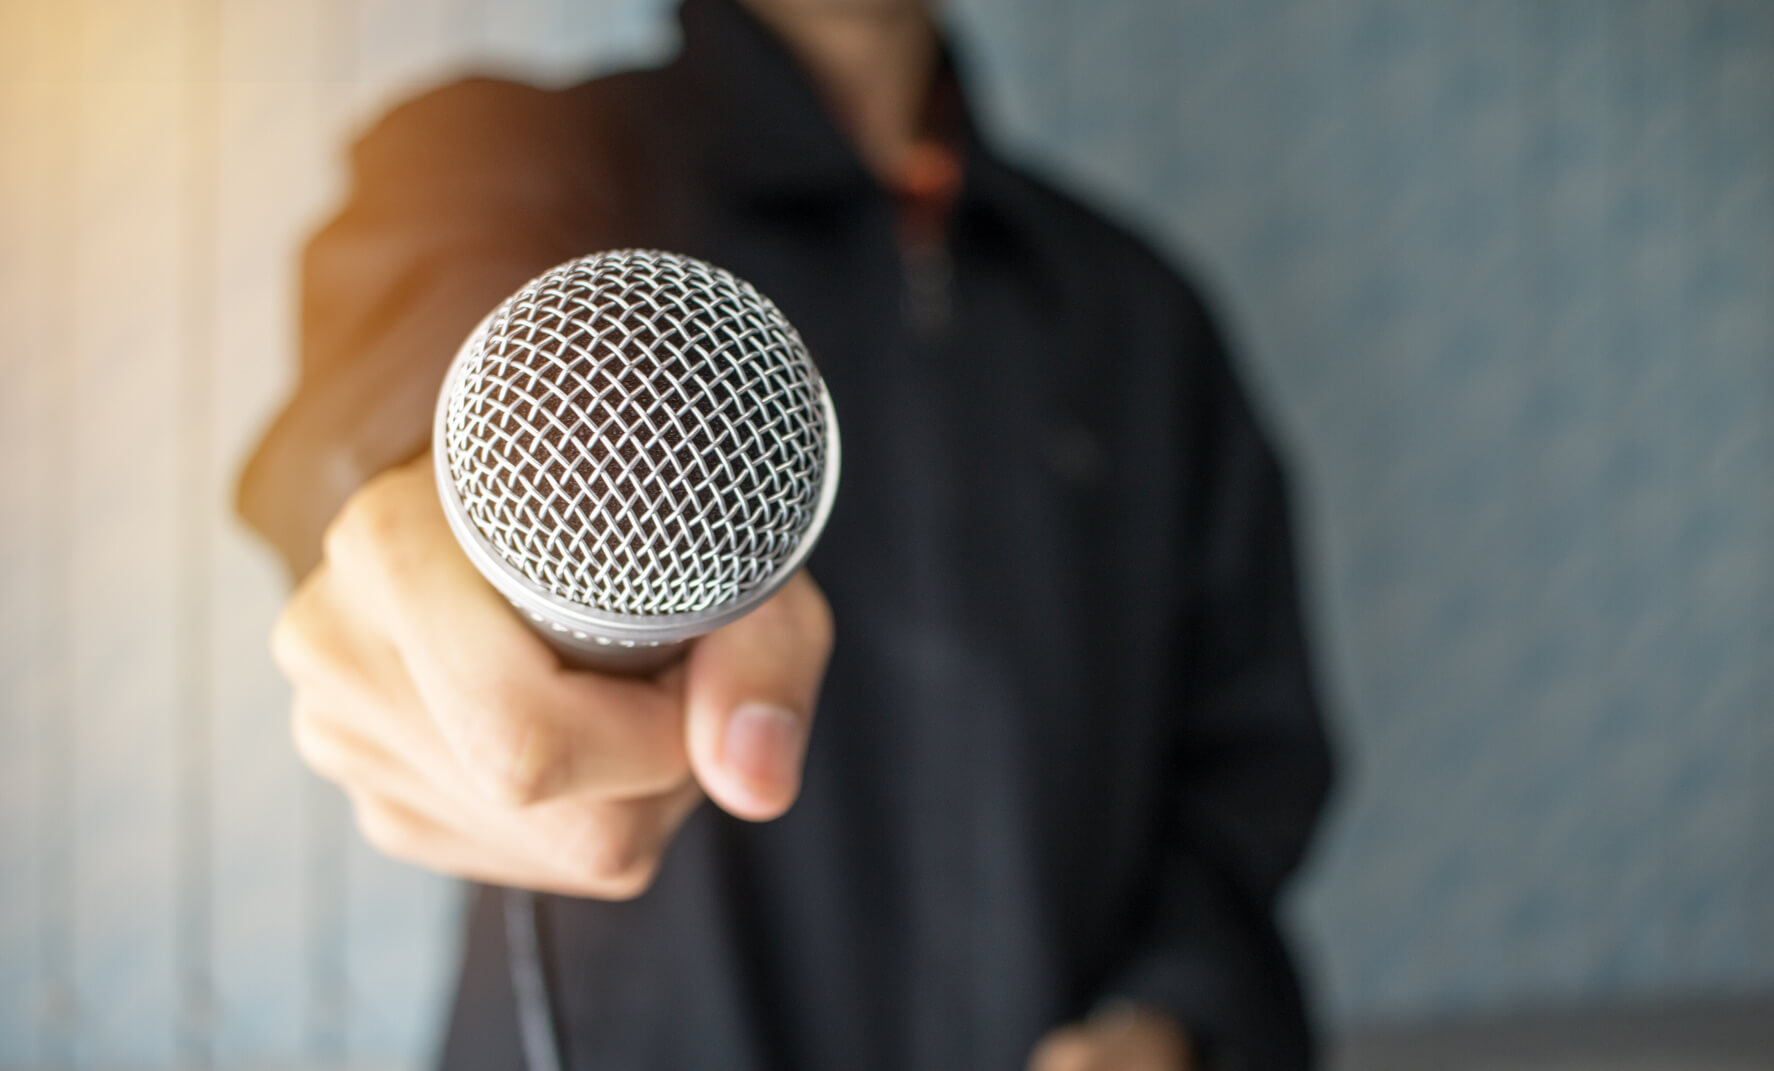
Most of the mics used for broadcasts are dynamic mics as they offer some advantages of condenser microphones for vocal applications. They also exhibit less proximity effect than condenser microphones. That is when the audio sounds more bassy and boomy when the user gets close to it. Dynamic mics are also more resistant to ambient noise. This makes them great for broadcasting studios as they have quite a bit of ambient and stray noise compared to post-production studios. Here are a few of the common microphone mistakes that you should avoid at all costs:
- Miking too close – Since noise is a common issue in busy studios, we usually try to compensate for it by fitting the mike for the presenter as close as possible to better capture their vocals. However, just because you place the mic close to the reader does not mean that it will cut down on the amount of noise it picks up. As a matter of fact, it will cause the proximity effect we talked about. So, make sure that the mike is at least 6-12 inches away from the reader.
- Miking too far away – Obviously, it goes without saying that you can end up going too far in the other direction, and your mic will end up picking other sounds. Since the optimal distance is different for every room and every mic, you need to play around a bit to figure it out.
- Not fastening the mike – Nothing is more frustrating than an unfastened mike that keeps sliding down through the course of the broadcast. It will make it really difficult for your audience to understand what is being said and that is all it takes to make the morning announcement production take a nosedive. So, make sure that the mic is tightly fastened to the stand or the coat. If you want to play it safe, using a desk mike can avoid complications like this, though the overall effect on the camera won’t be as elegant.
Green screen mistakes
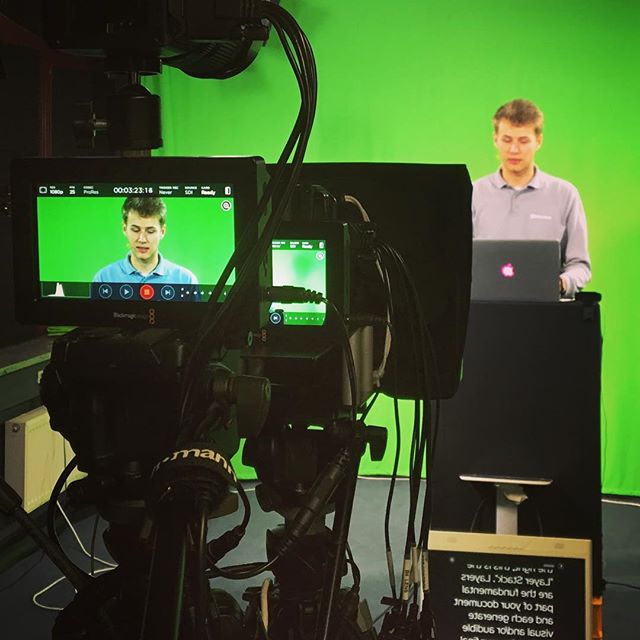
When meteorologists deliver weather reports on TV, they are actually standing in front of a green screen onto which the graphics are projected. So, if they wear green, those parts of their body will also disappear with the green behind them. It goes without saying that if you are planning to use a green screen to superimpose graphics, then all the audience is going to see is a floating head. So, the lesson is to always make sure you’re dressed for maximum contrast to your background as far as possible.
Read more about how to use a green (or blue) screen properly.
Lighting mistakes
The best video production efforts are not worth much if no one can see it. Some of the most commonly encountered problems when it comes to getting the lighting rigs and balance right includes:
- Not enough backlight, making the entire scene appear too bright and jarring
- Too much backlight, making the scene look dark and poorly lit
- Improper use of/not enough fill lights making the subject look starkly disconnected from the rest of the surroundings.
To avoid these missteps, follow these handy tips:
- If it is a single anchor desk, then you need to have one key light facing the anchor, one backlight behind the anchor and one fill light on each side, placed at a 45-degree angle facing the anchor.
- If it is a two anchor desk, then you need four-set fill lights placed in a curve at the backmost corner to fill out the dark areas in the set, followed by two backlights, one behind each anchor. You also need to fill/key/key/fill combo at the front in a semicircular pattern, with the two key lights directly facing the anchors.
Even with such a careful setup, it is not always possible to pull off a completely smooth production. Even major TV studios do fall short many times. Small bloopers are unavoidable and it’s important to set expectations accordingly. What’s more important is that you train your students to respond effectively to possible contingencies and make sure that they bounce back from them. It is also alright for your students to be a bit nervous during the broadcast. After all, they are not professional anchors with years of experience in front of the camera. However, you should teach them to not focus too much on the errors so that they slowly start to build their ease and confidence in front of the camera. Do this and you will have morning announcements that the students and faculty will look forward to every day!
Photo Credit Featured Image: © Fotolia / philipimage