After still photography made its impact, people began to think of capturing a series of still photographs in quick succession, that when combined, would give the impression of a ‘moving picture’. Beginning from the 1870s, a series of developments, starting from a speed of 10-12 pictures (a.k.a. ‘frames’) per second to the adoption of celluloid to a motor for moving the film across, have culminated in the motion picture camera as we know it today.
The moving image is also an essential part of modern morning announcements. Therefore this article will give you a brief introduction about the essentials of cinematography: the camera, different angles, filming and the tripod.
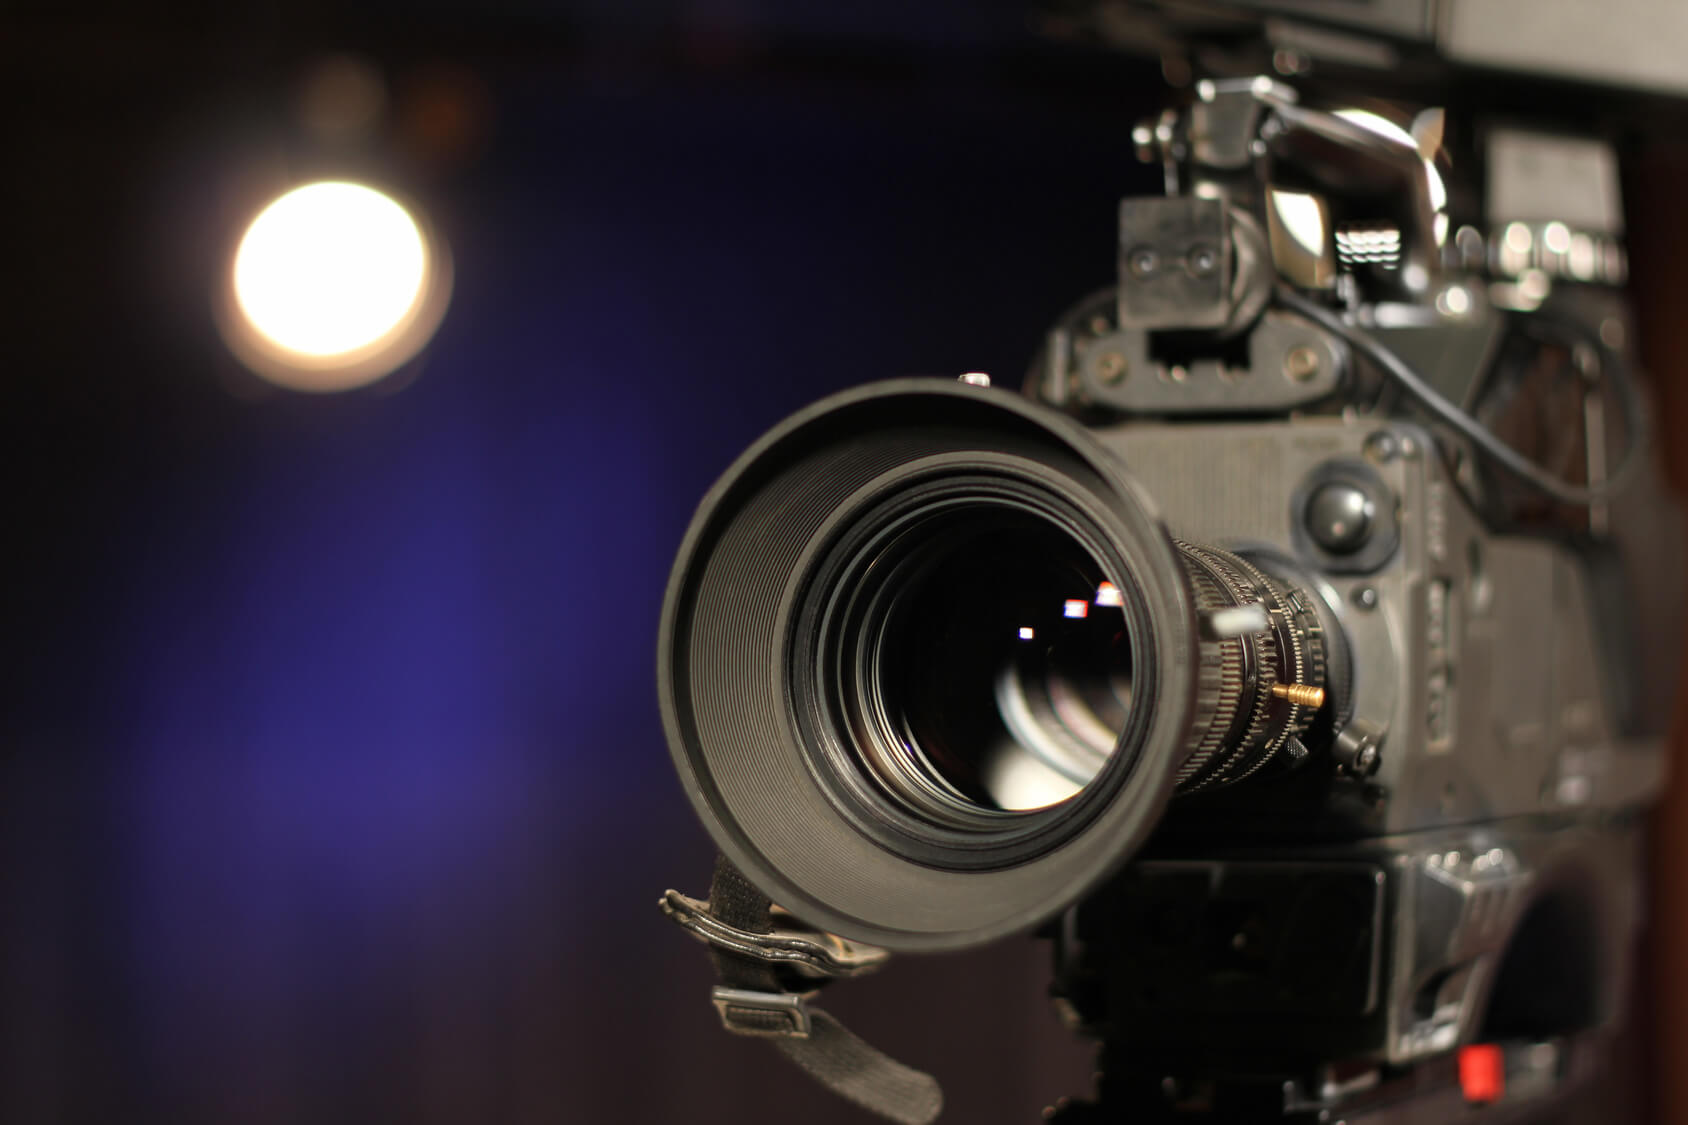
The general structure of a camera
Essentially, a movie camera takes multiple still images. These are captured on film. A motor inside the movie camera pushes the film reel forward so that the next image doesn’t get superimposed on the previous one.
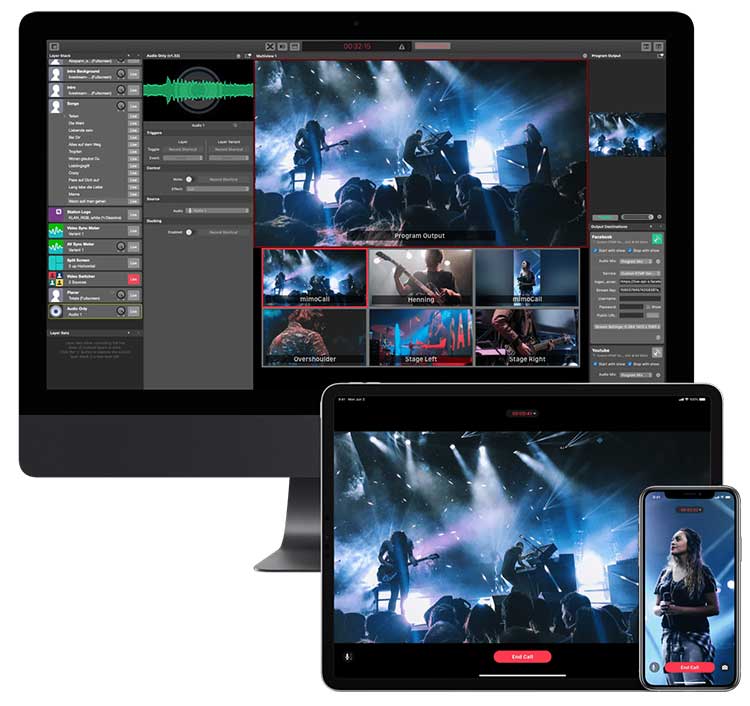
Digital cameras do away with the need for film, storing the multiple still images (all in quick succession) on magnetic storage.
There are now several lenses that allow you to zoom in/out; as well as settings that control how the images are to be captured.
What are different shooting angles?
These are some of the most commonly used angles in filming
High-angle: The camera is placed at a level higher than the subject. This is done to give the viewer the experience of ‘looking down on the subject’. It creates the impression that the subject is small/tiny and powerless.
A lot of Alfred Hitchcock’s movies use this angle. In The Paradine Case, this angle is used to portray Gregory Peck as he leaves the courtroom at the end, defeated.
Low-angle: The camera is placed at a level lower than the subject, usually at close quarters. This makes the subject appear ‘larger than life’, giving off the impression that he/she is powerful. Christopher Nolan’s Batman trilogy makes use of this angle often to convey an aura of superiority about the masked crime-fighting superhero.
Bird’s-eye view: The camera is placed high above the ground, at the height/altitude a bird would fly, and hence the name. It is usually used at the beginning of a zoom-in sequence. It is done to show a lot of details, or how the subject zoomed in is insignificant compared to its/his/her surroundings.
Worm’s-eye view: The camera is placed at an extremely low angle as if to give the impression that the viewer was a worm. This angle makes the subject look imposing and/or mighty.
Point-of-view: This is an angle that makes the viewer ‘see something through the eyes of another person.
Eye-level: This is the best angle to zoom in and capture the facial expressions of the subject.
All these angles are used for ‘effect’ in storytelling/filming.
Can't remember everything? No problem, we've got a handout for you!
Interesting: How to set up a recording studio for morning announcements.
How do you film?
Filming is as easy as pressing the ‘Record’ button and turning the video recording off after you have finished capturing the subject/sequence. Making a film, however, involves so much more.
The entire process can be broadly divided into three stages:
Pre-production: This involves deciding what to shoot and how to shoot it. If there is a story involved, it is broken down into sequences. Each sequence is further broken down according to the angle at the camera is to be stationed.
Production: This is about actually capturing the story or the subjects on film, according to what was decided at the pre-production stage. A director may say “Action!” to signify to the cameraman that filming is to commence. But before this, to ensure that everything is ready for the filming process, he/she may say “Lights” to indicate that the artificial lighting used is to be turned on; and “Camera” to signal to the cameraman that it to be turned on and running.
Post-production: This is about bringing the various sequences together to make a film. Video editors may chop off unnecessary scenes, such as the ones involving clapboards. These are used to denote the scene numbers for the benefit of the editors so that it is easy for them – this is easier than reading the script and trying to figure out which goes where. In a sequence with multiple scenes, such as a close-up shot of the killer that is meant to come in while he commits the gruesome deed, it might not be immediately clear to the video editor. Because the camera keeps filming for a second or two even after the director says “Cut!”, these extraneous scenes also need to be edited out.
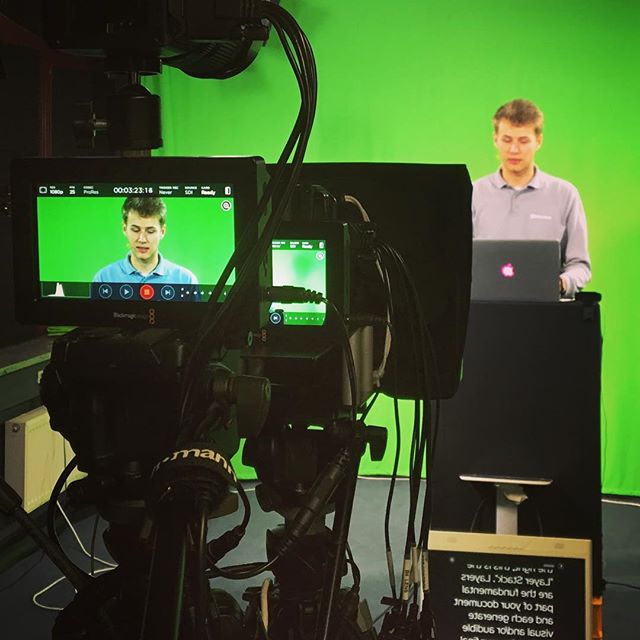
Sound editors ensure that the audio is in sync with the video. If there are computer graphics involved, production might involve filming the subject against a green screen (green is the color that is present in the middle of the seven-color VIBGYOR spectrum and hence works with everything) and adding the graphics later.
How to use a tripod
You first need to figure out what angle you need to shoot from. Depending on this, the tripod’s legs are to be adjusted to give the camera the height it needs. Look into the camera and only if you are satisfied with the angle should you proceed. Hanging the camera bag on the hook at the base of the tripod can lend it some stability.
It is generally a bad idea to raise the height of the center post because this decreases the stability of the entire setup. Use the three legs to get the height you want, then remove the base plate from the tripod. Affix this to the coming, place the camera + base plate combination on the tripod and ensure that everything is ‘locked’ down. Minor changes to the camera angle can be made by adjusting the knob below the base plate. Make sure you tighten the knob after you get the angle you need.
In-studio recordings as well as when shooting games, you may need to ‘swivel’ the camera around to follow the subject or keep the subject within the frame. So the right angle needs to be selected, and the height of the tripod adjusted accordingly – ‘zooming in’ should get you a close-up of the subject.
Photo Credit Featured Image: © Fotolia / branex