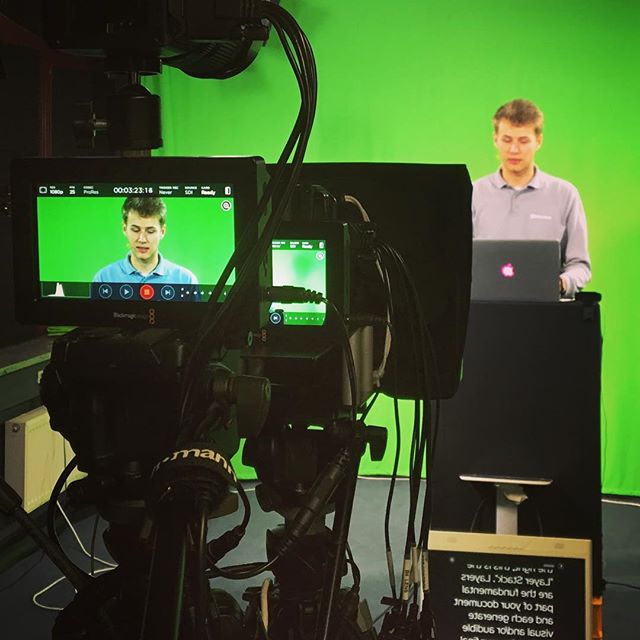
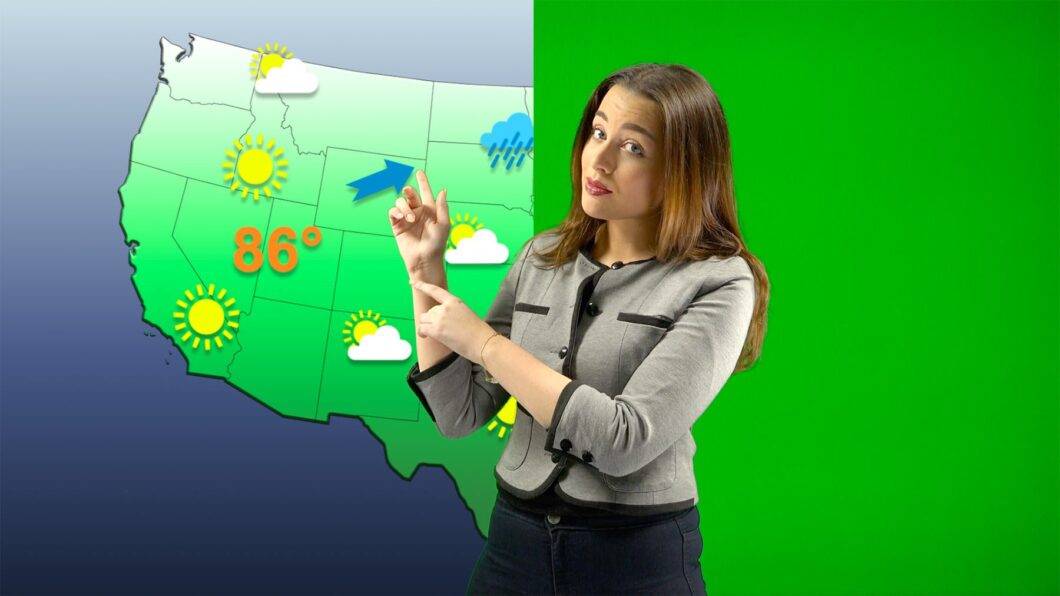
Morning announcements are incomplete without a green screen in the school studio. Whether your students want to do a weather report, use background imagery to cover national and international news, or produce a segment with heavy graphics, a green screen is a godsend. There is no point in doing morning announcements cheap and fast, especially if your students put in a lot of diligent research and elbow grease. So, let us take a look at the basics of green screens and how to use them to impart more panache into your production.
Why green?
Green is used for the simple reason that it is the least likely color to be found in human skin tones. So, it can be easily removed in post-production, assuming it is going to be human beings in front of the screen and not Dr. Seuss’ Grinch or Alan Moore’s Swamp Thing. It used to be an expensive process in the age of analog film. However, with the advent of digital cameras and video editing software that run on any home PC, almost anybody can use it without breaking the bank. All you need to do is replace the green screen with the background of your choice and presto, you are on Venice or the Martian surface.

By loading the video, you agree to YouTube's privacy policy.
Learn more
Does any other colorwork?
Blue works just as well as green. Both the colors are at the opposite end of the color spectrum from red and orange, which are the two most prominent colors in human skin tones. As a matter of fact, skin tones do not contain any blue tones either (unless the person is a vampire or a Hindu mythological creature). So, blue does not cause any interference as well. The biggest consideration for green vs. blue screens is the color of the foreground objects and costumes. It is essential that the colors in the foreground are not in the same range as the green or blue screen. If the presenter has blue in his/her outfit and they are standing against a blue screen, then the blue parts of the outfit will disappear when you key out the background. It would help to establish an illegal color range for the objects in front of the screen before you start production.
Usage scenarios for green and blue screens
With the advent of high-definition digital cameras, chroma key is processed the cleanest with the highest luminance. As a result, you will be able to pull off a clean key without any noise, and often, without complicated lighting setups. On the other hand, green is also quite bright. This leads to more spills, and the color green might reflect and bleed over to the person in front of it. This can be quite tricky when you have to key it out in post-production. To avoid this problem, make sure that there is enough distance between the background and the person in front of it. (Read more about how to set up your recording studio.)
Green is also an excellent choice if you are compositing your video in a daytime background. The leftover greens blend much better with the daytime footage. However, it can be quite challenging if you want to blend green against darker backgrounds.
Blue screens need twice as much light as green screens, quite often one whole f-stop. The difference in luminosity also causes much less spillover of color. Blue screens are ideal for replicating nighttime or darker conditions. The color correction against blue screens is also much cleaner than their green counterparts. Green spills can lead to messy colorwork in post-production that can eat up a lot of your time in the editing bay. But remember, no matter what screen you use, make sure that you shoot in an uncompressed format. It will ensure that you have more data in your shot and will make it much easier when you have to key out the footage in post-production.
Can't remember everything? No problem, we've got a studio guide for you!
Lighting setup for a green screen
Lighting for green screens is relatively straightforward, but you need to look out for a few factors that can mess up your shot and give you a lot of trouble in post-production. The best way to avoid this is to light the setup properly and stick to it. Let us take a look at some basic lighting principles and the types of lights that are the best for green screens.
- Setup the green screen in such a way that it is as smooth as possible and stretch it out to get rid of any wrinkles. Alternatively, you can hang it up as high as possible so that the weight of the cloth pulls out all the wrinkles. Look out for any big marks or scuffs on the walls or the floor of the green screen studio.
- Create a soft and even light over your green screen (no shadows, no hot spots).
- Make sure that you light the green screen a couple of lighting stops below the subject. It is not a good idea to blast the screen with a lot of light, as it can cause green light to bounce off the screen onto the subject. If you light the screen too dark, it will cast shadows on the screen. The best solution is to light your green screen slightly darker than the subject.
- Treat the subject and the green screen separately. Once you have an evenly lit screen, light the subject like you normally would.
- Avoid any shadows. The best way to do this is to make sure that there is enough distance between the subject and the green screen. This might be a bit difficult if you have a small room. Conversely, if the green screen is small and the cameraman wants a full body shot, you will have to move the subject nearer to the screen. You can cut down on the shadows by raising the lights and moving them out to the side. This will throw the shadows to the ground and the edges.
- Shoot at a wide aperture. Keeping the screen out of focus makes it easier for you to even out the inconsistencies on the screen.
