Whether you’re shooting a film or a school morning announcement, proper lighting is something that you will definitely require. In fact, lighting is one of the many important things that play a role in making your production look as professional as possible. So, naturally, you are required to know how lighting works in order to make sure your work is worth all the effort you put in. But, it can become a bit difficult if you don’t know what you’re doing. However, the good news is that lighting techniques can be learned in a short while and with enough effort, you can carry out a professional shoot. In this blog, we’ll be delving into the various tips and techniques needed to help you light up your studio.
In a professional environment, lighting is done with the help of various specialized tools. This isn’t the case with a school morning announcement. But, with our guide here, you can have almost the same level of lighting without any extra help.
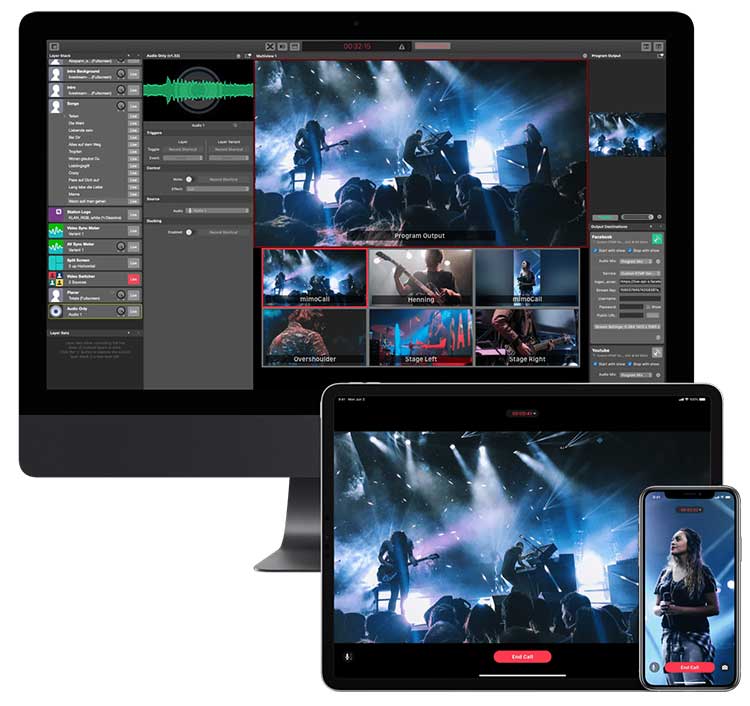
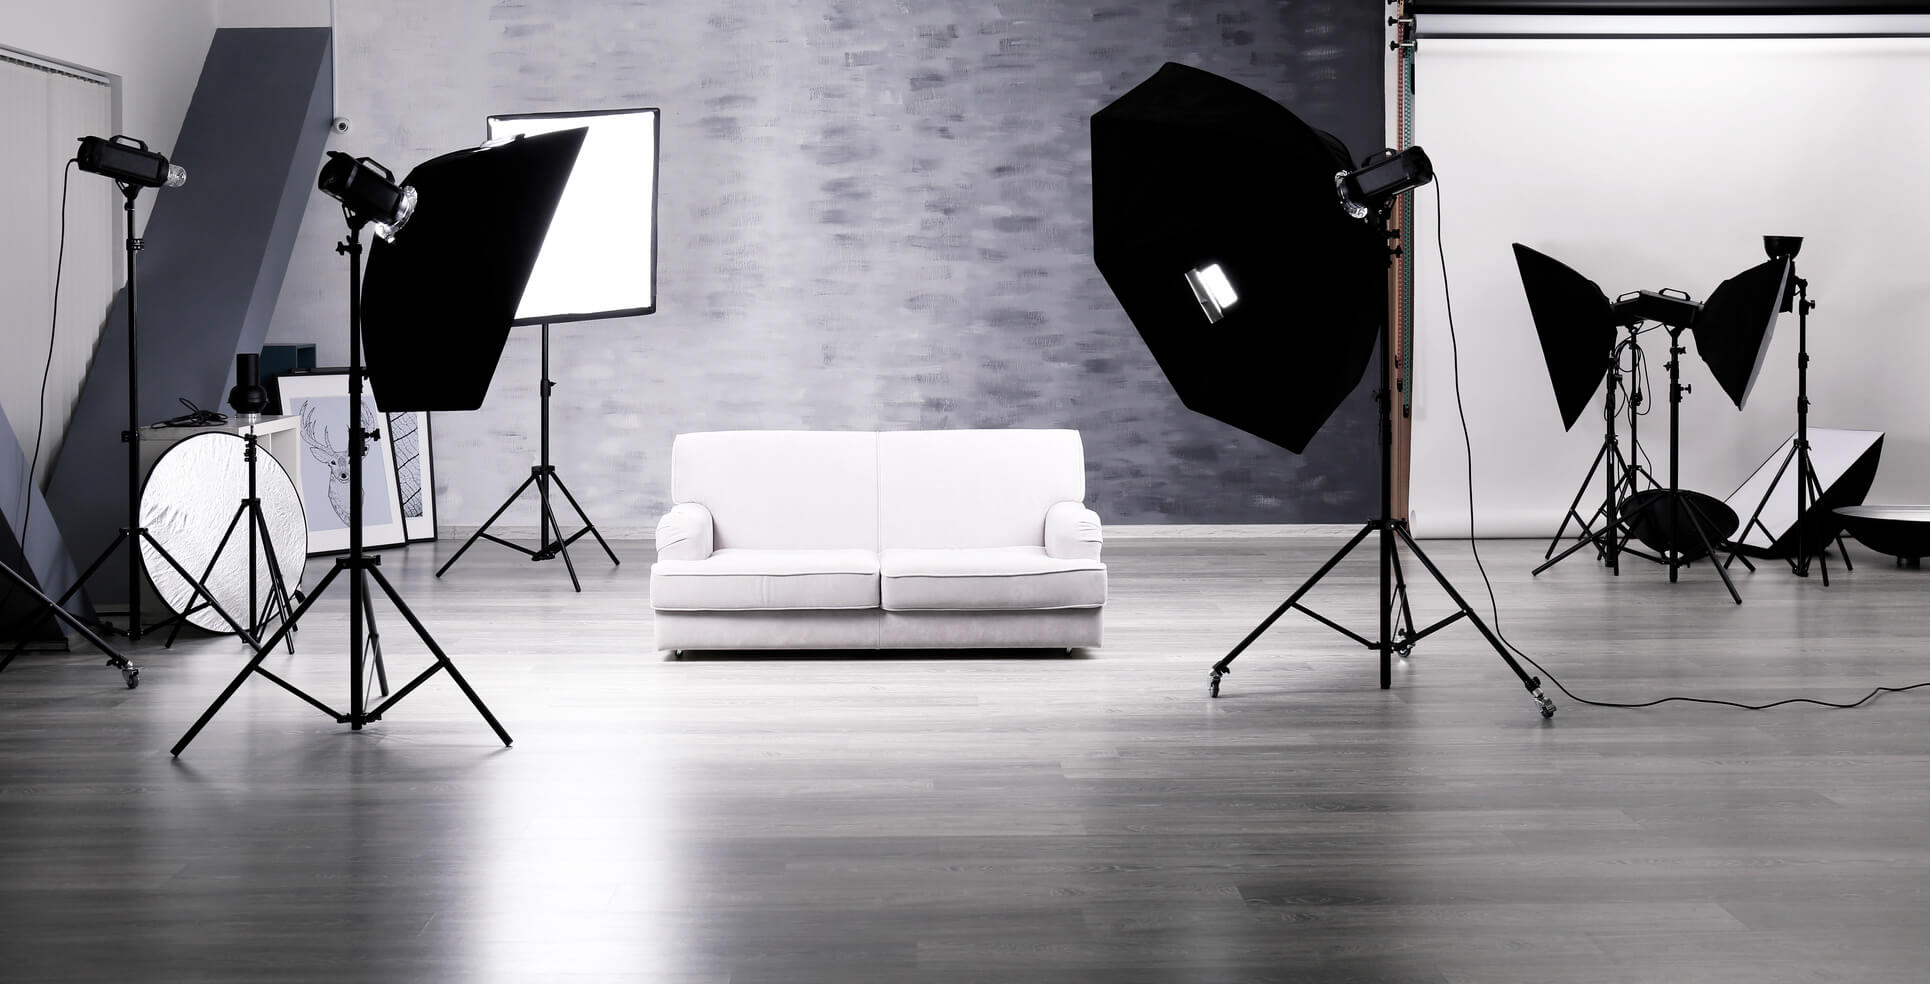
How to create a perfect studio light – your personal sketch!
Light: Basic Rules
Like all things, there are basic rules that you need to follow for lighting as well. One of the most basic rules has to do with making your lighting soft, which is standard for news and announcement formats. Soft lighting envelopes the entire set in a uniform manner. This is done by increasing the width of the light beam. The result is a smooth ambiance that makes the presenters look pleasant. The width of the beam can be increased by placing the light source close to the subject and adding a diffusion material. Another way to soften the light is by adding a softbox. Softbox is a tool that is sold exclusively for this purpose and you find ones made by brands such as Lowel, Chimera, and Photoflex. These are fairly popular options in the current market. The softbox is added to the source of the light.
They allow you to convert a hard beam of light, measuring 6 inches, into a soft beam, measuring up to 36 inches. Now, if you were to place the softened lights at 35-degree angles, aimed at the presenter, you would be able to enjoy softer lighting that is easy on the eyes of the audience. Plus, since both sources are of equal intensity, they both end up serving as key lighting. If you can’t get your hands on a softbox, you can compensate for it with diffusion materials such as tough spun cloth. This is actually referred to as diapering because it appears as though you’ve diapered the light source.
The second rule of basic lighting is to make sure the talent is brighter than the background. The objective, after all, is to make the talent (presenters) get noticed. To achieve this, you will have to light up the background and the presenters separately. Also, a darker background helps the graphics appear richer. Place separate backlights for each presenter. This will help you separate the presenters from their background while also emphasizing their respective heads and shoulders.
When placing these backlights, make sure they are positioned opposite to the key light, but, at a higher angle (around 45 to 60 degrees). Also, flag the light to prevent lens flare. There shouldn’t be multiple shadows when one of the presenters places his/her hand over the desk. If this happens, the flagging on the backlights will have to be adjusted to create only a single shadow. Now that you’re aware of the basic rules, you can apply them to any morning announcement recording. In fact, let’s see how they can be applied in different scenarios, using a couple of examples.
Sports News
Let’s assume that you’re interviewing the school’s football team captain on an upcoming game. Here, you will have to position the interviewer in front of a wrinkle drop. Make sure the wrinkle drop is neutral in color. Place the key lights at 5 o’clock and 7 o’clock positions. If you want a more powerful effect, raise the height of the lights. The hard light will now create shadows that will deliver a certain effect. Make sure you also flag the lights so that there are no spills. Now, place a second light above the backdrop at a 45-degree angle. Put some CTB or Color Temperature-Blue gel on the lamp. When you turn on the light, you will be able to create a blue light behind the interviewer. However, make sure there is no other light falling on the background.
Weather
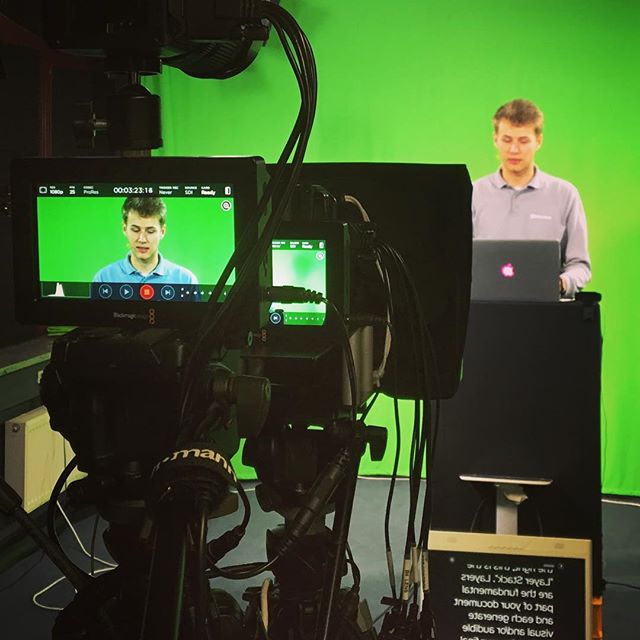
Now, if you’re doing a weathered piece, you will need the green screen or chromakey wall for effects. In that case, the presenter and the chromakey wall will need to be lit separately. The talent must be lit with soft lights placed at 5 o’clock and 7 o’clock positions. As for the angle, place the light at a 50-degree angle towards the air. The higher angle causes the shadows to fall at a lower level. The wall must be lit evenly with broads placed at 60-degree angles over the wall. You will also need a strong backlight for the presenter, which will have to come from the same direction as the camera. It must also be above the wall at a 60-degree angle over the presenter. The wall must be lit evenly and the backlight from the talent must eliminate any color being reflected off the wall.
You’re Ready!
Now, you’re ready to go on with your recording. The goal behind good lighting is that it shouldn’t be too dull or too distracting. The viewer must be able to see everything clearly and able to pay attention to what’s being shown. Don’t try to make things too dramatic. Just focus on creating an environment that is smooth, even and devoid of shadows. However, if the situation demands dramatic lighting, in the way it is needed for sports presentations; don’t hesitate to go for it. We’ve only scratched the surface here with regard to lighting. However, you can learn more on your own by trying your own setups and running test recordings. That way, you’ll be able to correct your mistakes more effectively.
Featured Image: © fotolia / Africa Studio