Morning announcements in schools are usually dull mini speeches that no one in the school usually listens to, not even the person reading them into the mike. Most schools still do their announcements the old-fashioned way where they have a person read all the news into a PA system straight out of the 60s. With the proliferation of social media channels and instantly consumable memes, tweets and videos across digital screens, it has become all the more difficult to hold the attention of kids unless it is done in a way that can hold their attention.
A recording studio is an essential workspace that every school needs. You can record the news and stream it on the computer attached to the classroom projector. Not only will this exciting mode of production invite more participation from the students themselves, it is also an excellent way for the parents to tune in remotely. No matter how you dice it, video broadcasts will increase the engagement of all school members and lead to a stronger community. But how exactly do you set up a recording studio?
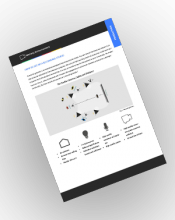
Can't remember everything? No problem, we've got a sketch for you!
Setting Up The Lights
If you are going to use lights in your recording studio, then the first thing you need to do is to shut out all the natural light so that you have a higher degree of control over the lighting conditions. Go for a windowless room with a high ceiling. Precise control of the intensity, amount, direction and color of the light is an important consideration for studio shoots. High ceilings are easy to create – all you have to do is remove the drop ceilings to create more room.
Now you may ask, “What does a high ceiling have to do with lighting requirements?” First, you need to use light fixtures that make use of reflective umbrellas and big, translucent softboxes cut out of fabric. These are gawky units and need to be mounted on top of tall light stands.
The size of the room is a deciding factor as well. You need some space if you want to precisely control the light and achieve studio effects. The backdrop and the subject need to have six feet between them for you to get the ideal light separation distance. The distance between the wall and the camera needs to be around 18 feet. Keep that space free of clutter so that it is easy for you to start a shoot when you want to.
The key lights must point towards the subject at an angle of 45 degrees. You also need to have one light aimed at the backdrop so that you can round out the light and keep moving objects from throwing shadows.
What about the sound?
Noise is one of the major problems in make-do studios. You might not notice the overhead hum when you are just sitting at a desk, but it is an entirely different matter altogether when you are adjusting sensitive microphones so that you get a clean and clear sound. Get a sound engineer from your locality to check out the place and give you an estimate of how much it will cost to soundproof the room. Once you have set up the physical studio space, then you can buy the right equipment to make the most of it.
Recording Studio: Equipment checklist
- Cameras – A consumer-grade camcorder like the Panasonic HC-V180K should suffice. It is a small, rugged and easy-to-operate unit that is excellent at recording high-quality audio and images to a small tape. As a matter of fact, this camera has been the official workhorse for most of the TV crews engaged in covering news in Afghanistan, Iraq and other hotspots around the world. Buy a couple of them if you want to do a shoot with a multi-cam setup. That way, you have an operational unit for any kind of in-studio shoot at a short notice. (Read more about cameras in this article)
- Microphones – Good microphones are something that almost everyone seems to skimp out on. If you want clean and professional sound, you cannot really dangle your iPhone from a clothesline and hope for the best results. Get a good pair of condenser microphones. The AKG C414 is an affordable studio-quality condenser microphone that should take care of all your needs. Make sure you use it in conjunction with good-quality cables. You do not want to invest in a good mic and lose the signal due to a cheap connector cable.
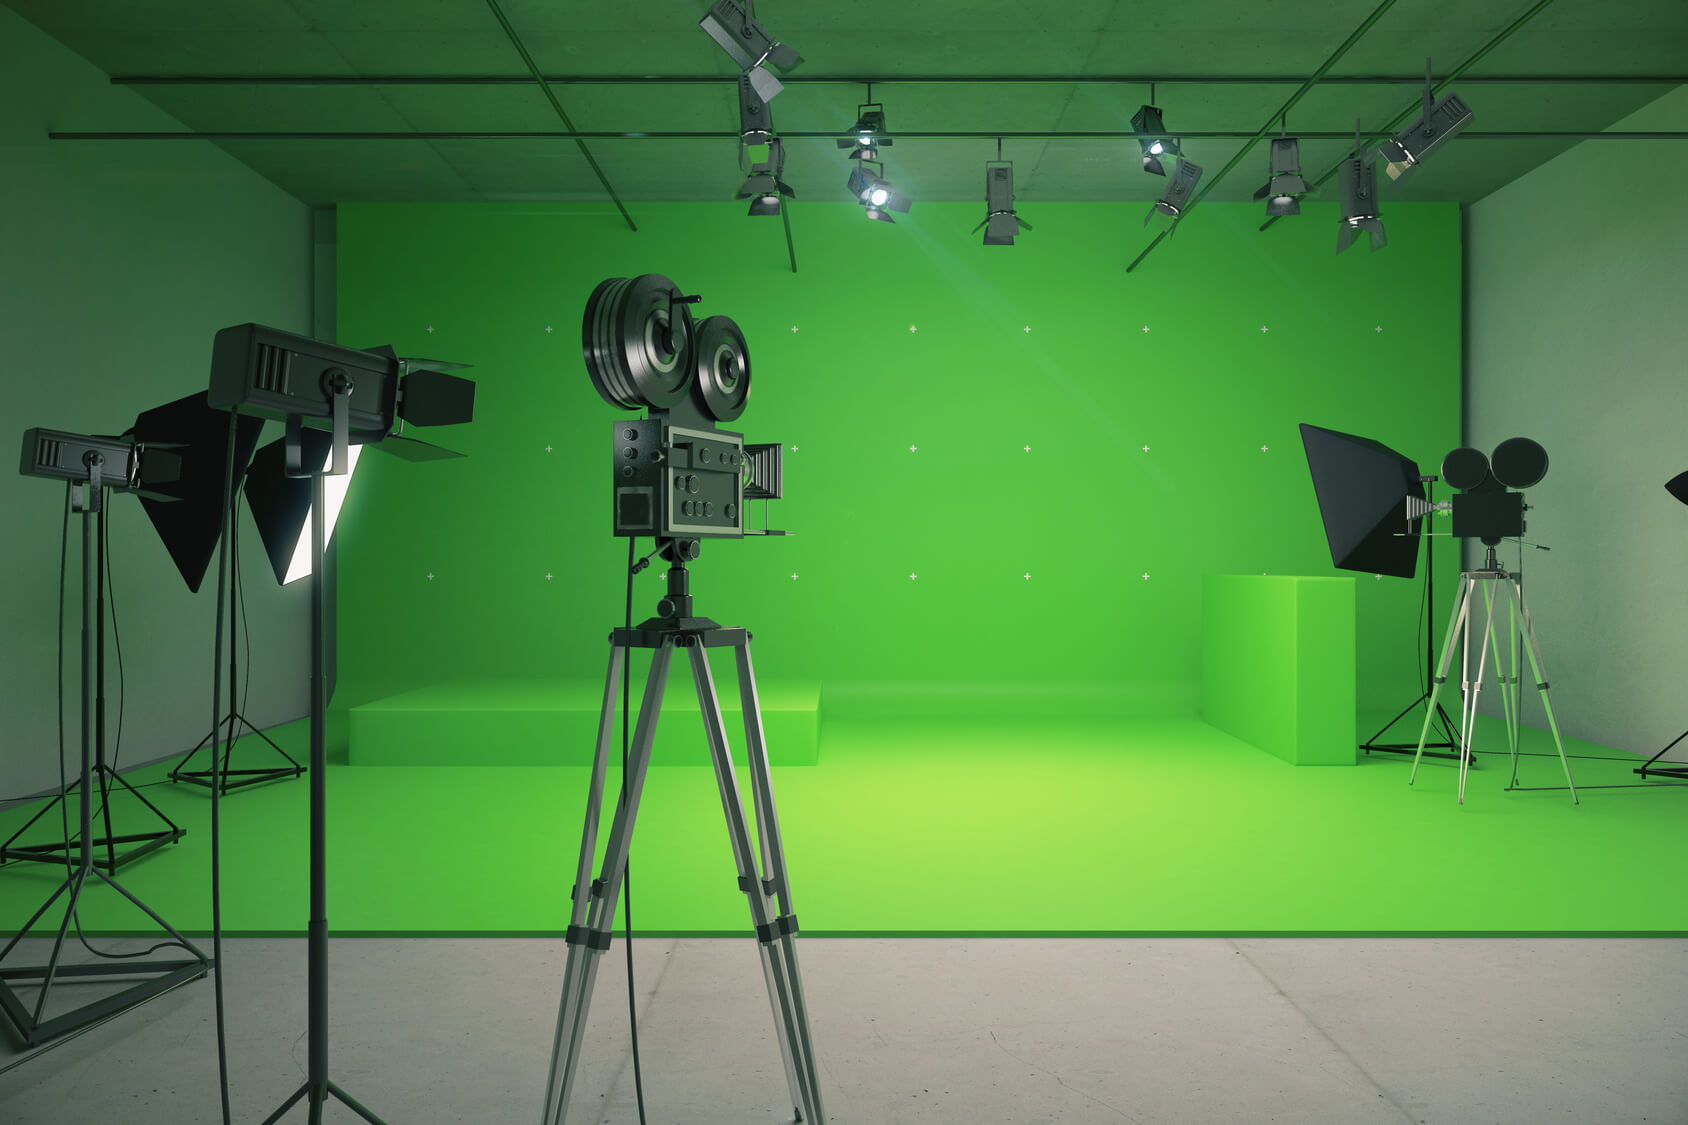
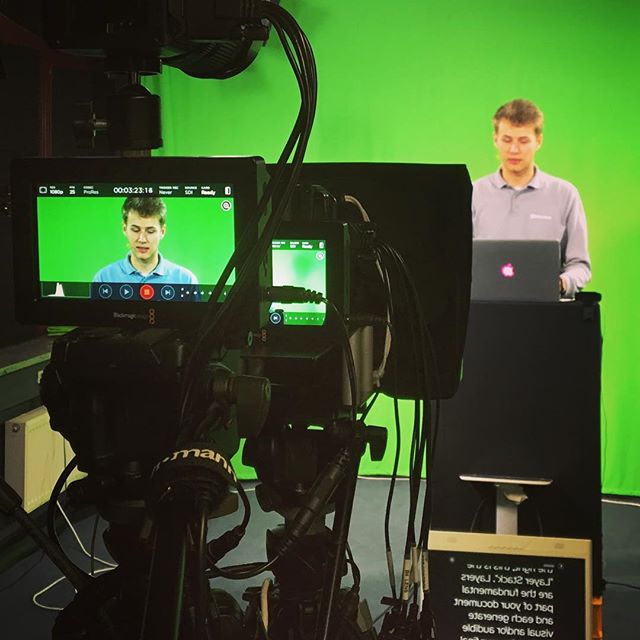
- Lights – You can go for Lowel T1-10 Tota lights that come with a unit head, an eight-foot stand as well as reflective umbrellas. They are perfect for illuminating the background. For illuminating the subject, you can go for the Rifa-Lite 44 EX Tungsten lights. These lightboxes are excellent for generating soft light and get pleasant, even lighting for skin tones. While an existing partition or wall will work well as a background, it is advisable to go for a green screen background. Chromakey paper should do the job. It allows you to shoot your subjects and add whatever background you wish to during the editing process. This is the most economical way to create a look that can give any slick, modern recording studio a run for its money.
Getting the students involved
Once you have set up space, you cannot expect your staff members and students to become overnight on-camera stars. They might have the potential, but being on air in a video broadcast requires a level of poise that can be learned with time and patience. Anyone who looks like he/she is a natural at the job can help others present themselves better. As for the editing and post-production, it is best to get the students involved. Most of them are tech-savvy and would be more than glad to pitch it if you seek their involvement. It would make the broadcasts more personal and enliven a dead and dull morning routine that is in total need of a revamp for the information age.
Photo Credits Featured Image: © fotolia / peshkov
