The weather forecast is one of the most important features of a morning announcement for more reasons than one. Whatever the weather, rain or sunshine, there is always a story to tell your audience. For starters, it will give the students and staff members a fair idea of the kind of weather they can expect during the day. This will help them plan sporting events, excursions and other outdoor activities accordingly. You need to train your presenters to gather all the information they can from the National Weather Service and make sure that they consolidate the data and tell a story that helps the other students understand the weather phenomena.
You might very well ask “Isn’t all of this a bit cumbersome? Can’t we just get the weather report from the local news channel and make it easier for the students and faculty members?” You could, and if you do, you miss out on a great opportunity to educate your students about the fascinating science that goes into making a weather forecast.
How exactly are weather forecasts made?
To obtain precise weather measurements, meteorologists from all over the world launch weather balloons, also known as radiosondes, twice every day at the same time. These balloons make their way through to the troposphere and measure air pressure, temperature, wind speed and direction. This information is directly transmitted to a ground station and constitute a snapshot of the weather at a particular point in time. Apart from radiosondes, the surface weather is also measured at observing stations all over the world, from buoys and ships at sea, and by weather radars.
These measurements are transmitted to weather prediction centers that are located in the United States, England, Canada, Australia, Germany and many other countries across the world. All of these centers are equipped with supercomputers that model the raw data to generate a 3D grid that demonstrates the atmospheric changes. Future changes are computed in the 3D grid for the wind (both vertical and horizontal), temperature, cloud water, water vapor, and precipitation formation. The sophisticated models also include the effects of solar and infrared radiation on temperature. Together, all these equations are run as a program to generate a numerical weather forecast.
Presenting the weather forecast
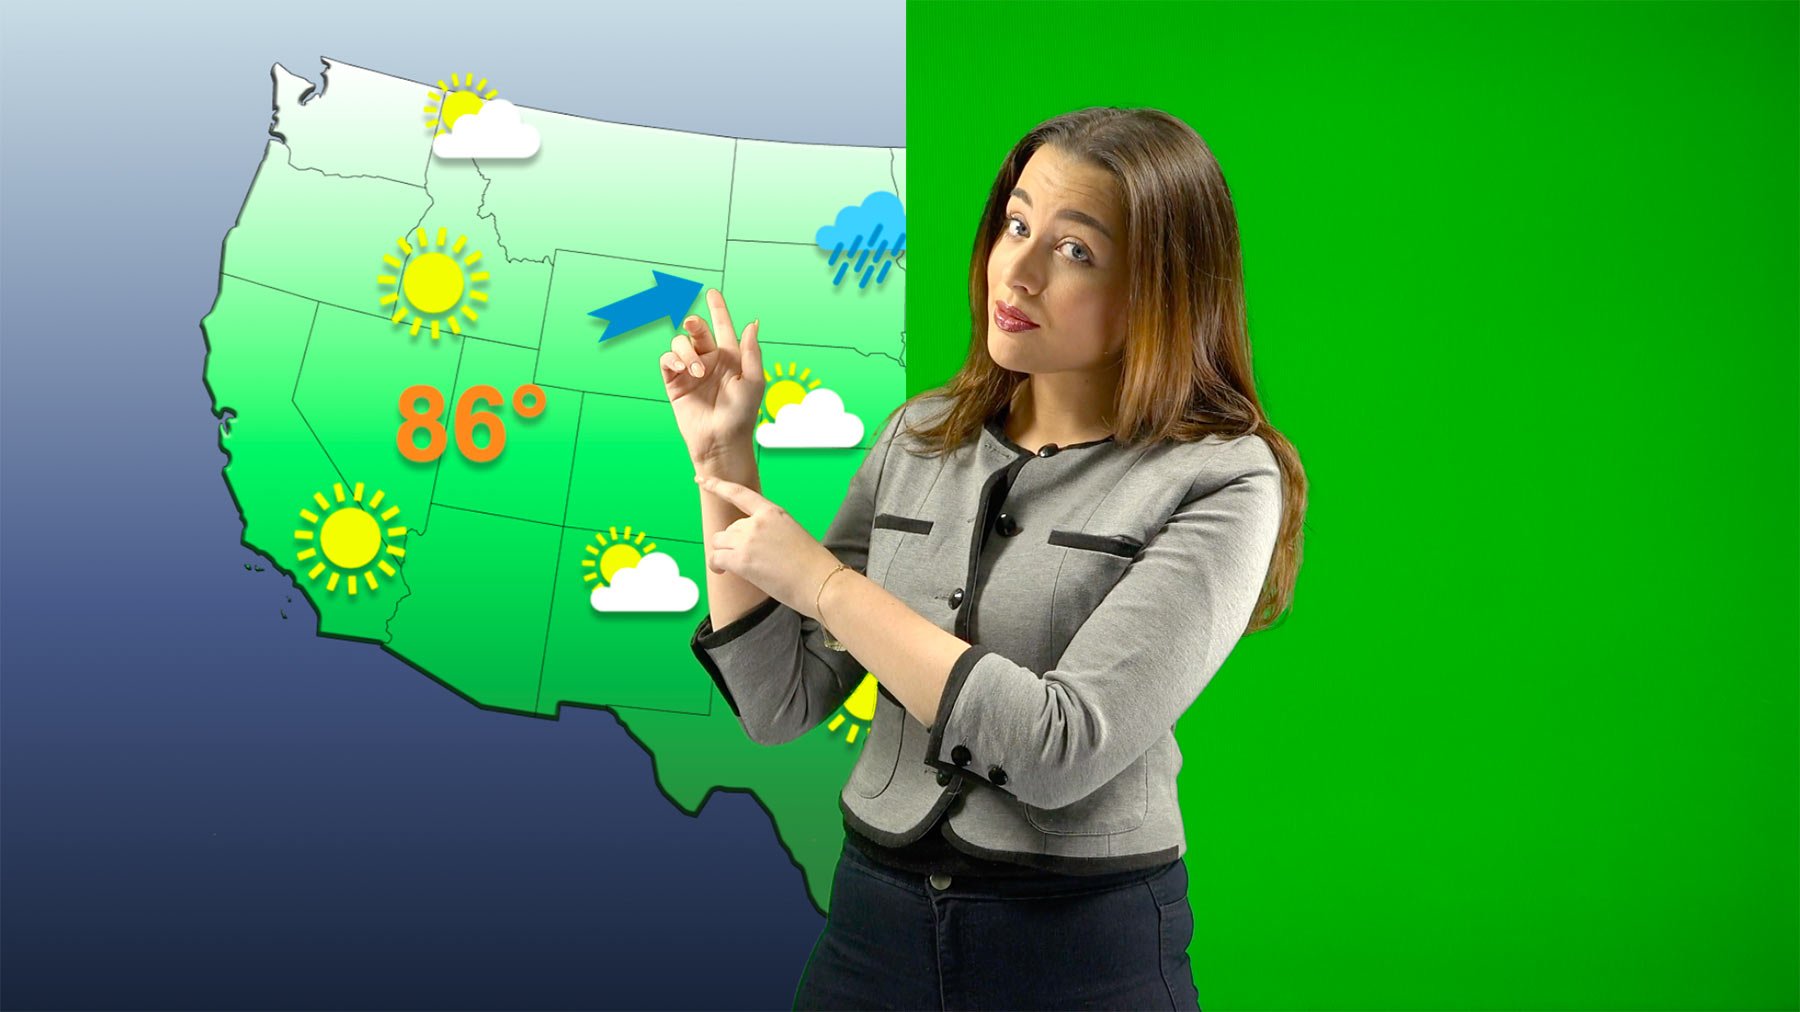
Once your students collect all the data from the National Weather Service, they must be trained to understand the underlying weather phenomena, make a short term forecast and learn how to present it using a green screen setup. Although it sounds complicated, the process can be broken down into simple steps and once they get a hang of it, they will be able to give professional presenters a TV a run for their money. So, let’s do a step-wise breakdown of the process:
- To begin with, have your student answer the following questions – “What does the weather reporter do?” “Where do they get their information from?” “How is a weather forecast different from a news story about the weather?” “What is the science behind a weather forecast?” “What kind of weather events necessitate the issuance of a weather alert?” Once they are able to answer all these questions, they are just a green screen away from doing their own weather forecasts on a daily basis.
- Invite a local meteorologist to speak to your students about the science that goes behind weather forecasting. He/she will instruct them to generalize a pattern, function or relation and explain how a change in one quantity leads to a change in the other. Your students will also get a lowdown on how to effectively use a computer, microphone, a green screen and a camera to pull off a successful broadcast. When they are done with the session, they will have a very clear idea of how the science behind weather forecasting meshes with the logistics of television.
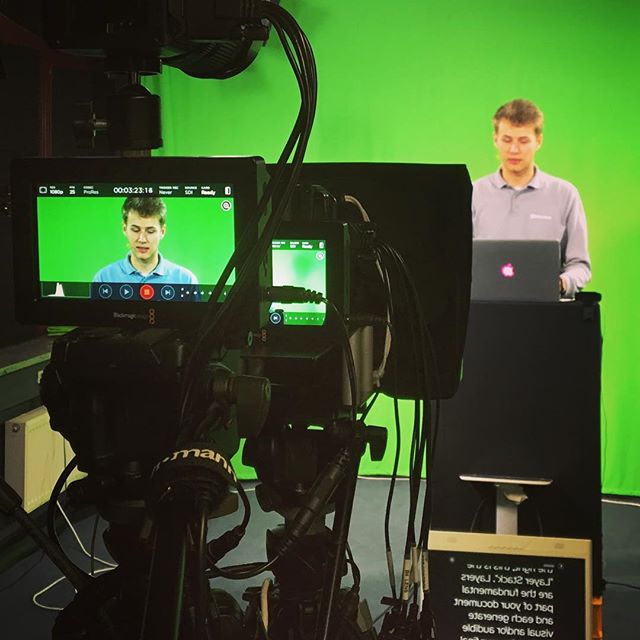
- Assign your students to groups of two and have them rehearse a weather forecast. Have one student act as the presenter and the other as the cinematographer. This will give them a good idea of the distance at which the mike needs to be placed and the proper framing principles. They also get to try their hand at using a green screen with a computer. We have a detailed post on how to successfully use green screens for maximum impact.
- Have other students join in during the rehearsal and coordinate a post-rehearsal session to see if the audience managed to understand the science. Use an objective survey to judge the effectiveness of the presentation. The feedback should give your students a good idea of the parts that were effective and the parts they need to tweak. Once they fine tune their approach, they should be ready to hit the floor.
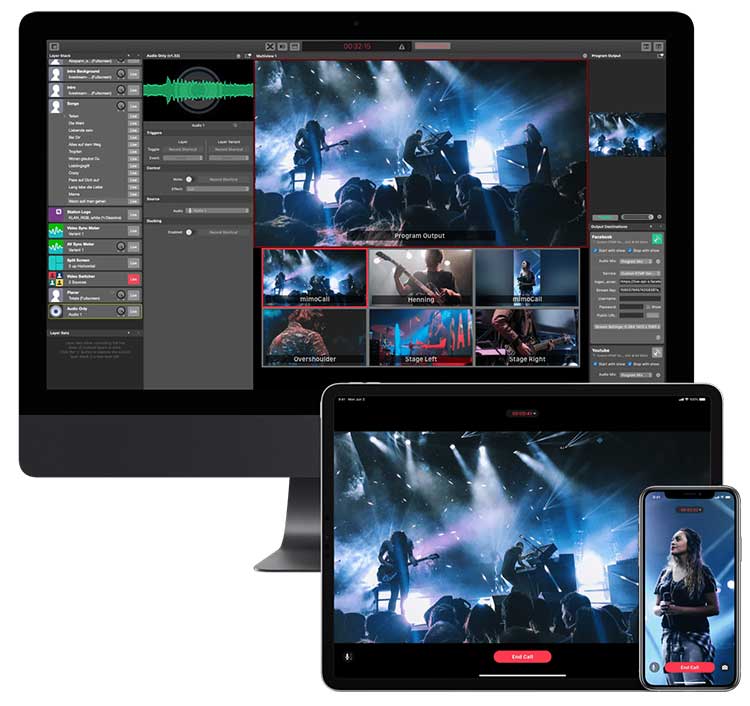
- Send a copy of the first weather report to the meteorologist to see if your students got it right. If you get the go-ahead, then you can make it a daily staple of your morning announcements. You can also live-stream the broadcast to parents. Parents would love to get their daily weather reports from their kids. You can have all the students participate in this activity on rotation so that everyone gets a shot at it. Not only will it help them get a practical understanding of weather patterns, it will also teach them to be more confident in front of the camera. It goes without saying that all these factors will help them immensely when they are applying for college.
Need a handout? - No Problem! We've got some for you!
Over time, you can have the veteran weather presenters in your student community train the next batch of students to do the same. You can also have a discussion with the board of directors about turning this into an extracurricular activity. Meteorologists can visit the studio from time to time to shed more light on weather events, and eventually, you can train your students to do a bit of live reporting as well. Once you establish a tradition, your students will take care of the rest for years to come.
Photo Credit Featured Image: © fotolia / Jürgen Fälchle
